

One day during final exams, my roommate came home with four pounds of strawberries. Whatever could we do with them except make a pie? I started making a recipe I found online that I didn't read very carefully, but while waiting for the strawberries to cook down, I realized that she said the recipe as she'd started it didn't taste good. This called for an emergency change! I ended up adapting the recipe into my go-to lemon meringue pie recipe and creating a strawberry lemon meringue. It was pretty delicious, if I do say so myself. It was refreshing like strawberry lemonade.
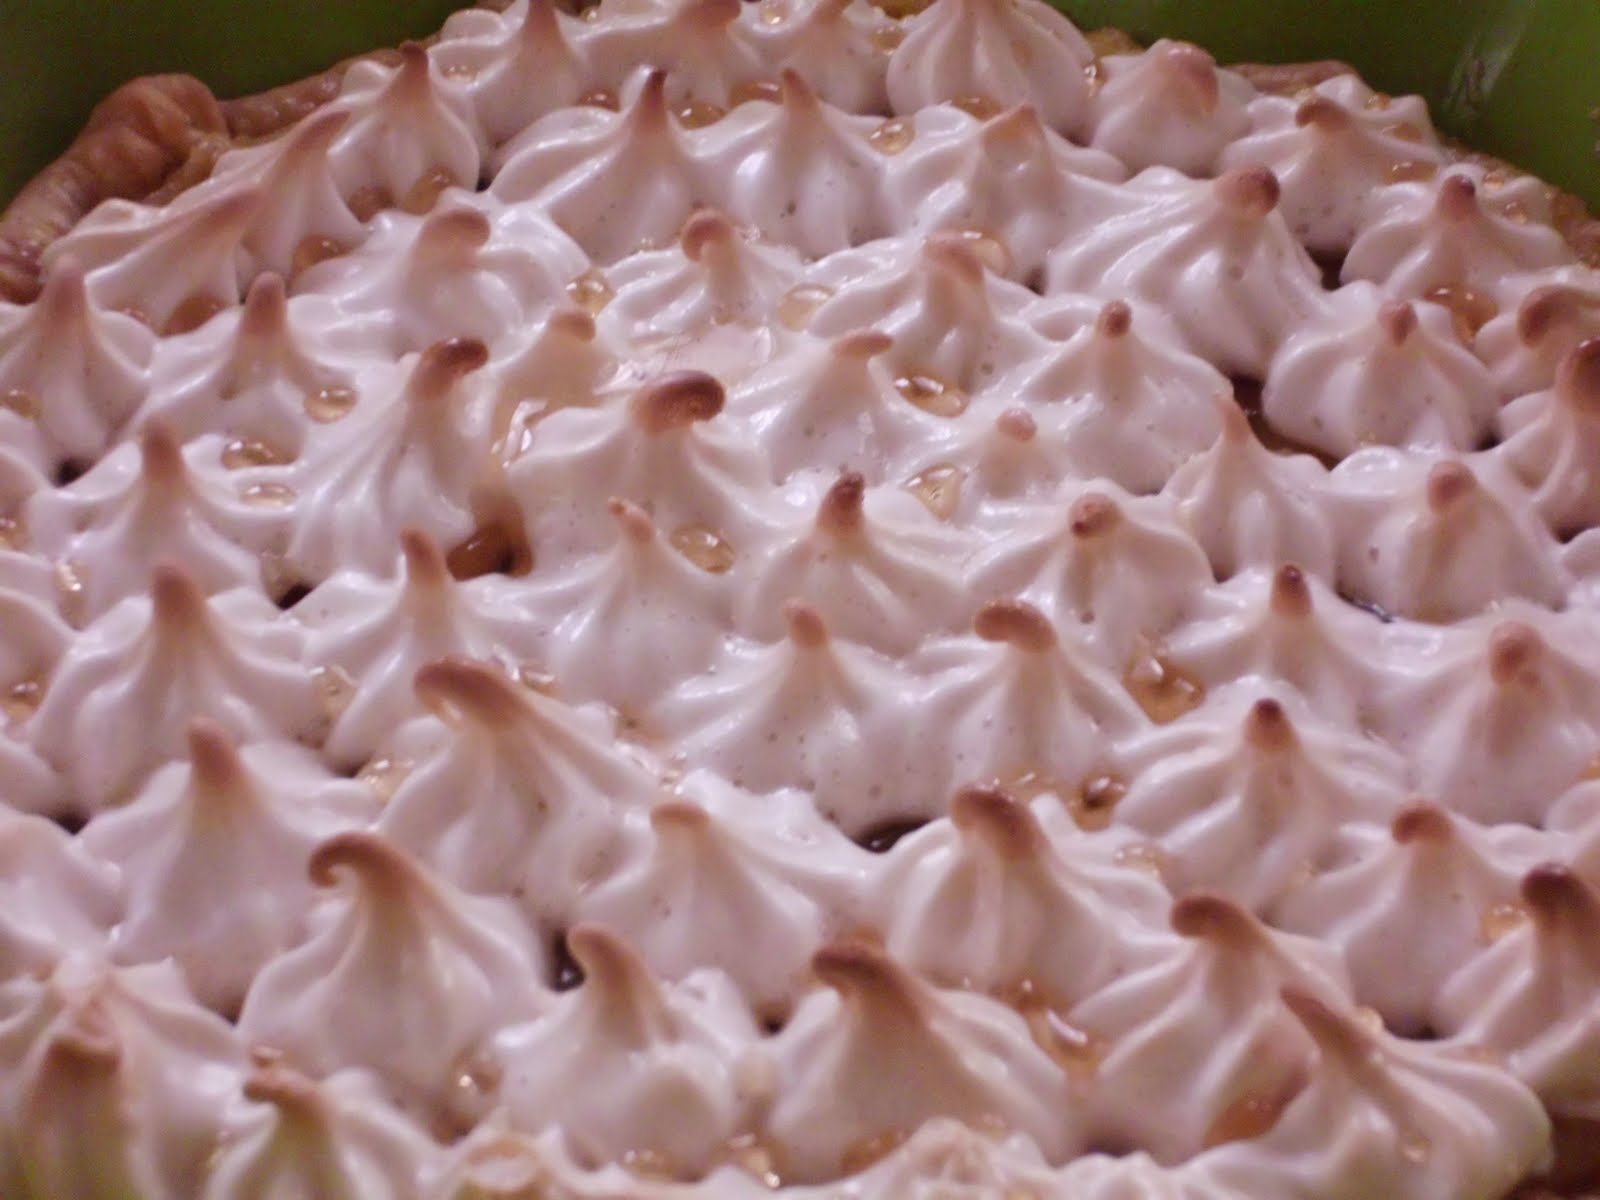
I don't actually have a picture of the strawberry pie, because I scorched the meringue and was mad about it. But, the these pictures are of a lemon meringue pie I made for M's graduation from law school where I finally managed to pipe the meringue. It was a sticky mess, but it looked awesome! Here's a close-up:
Strawberry Lemon Meringue Pie
Ingredients
- 1/2 lb of ripe strawberries
- 1/2 C Unsalted butter
- 1/4 C Lemon juice
- 3/4 C Sugar
- 7 Eggs - 3 whole eggs + 3 egg yolks for the base, 4 egg whites for the meringue, 1 yolk wasted
- 1/2 tsp vanilla
- 10 TBSP Sugar
- Bake the pie crust according to the directions on the box or your standard recipe. After, turn the oven temperature down to 375.
- While the crust is baking, cut the strawberries up and cook them in a dry sauce pan until they turn soup-y. Cook them over medium heat and cover them. I turned them frequently to keep them from burning and squished them once they started to cook to encourage the process.
- While the strawberries are broken down and have let a significant amount of liquid, take them of the head. Pour the mixture through a fine mesh strainer, and try to force as much liquid through as possible. This will keep the pulp out and minimize the number of seeds in the pie.
- In a saucepan, put in the butter, 3/4 C of sugar, lemon juice, and 1/2 C of strawberry mixture. Turn the heat on low and whisk until butter melts.
- In a bowl, beat together 3 whole eggs and 3 egg yolks.
- After the butter mixture is fully melted, spoon some slowly into the egg mixture and stir. Do this a few more times, to raise the temperature of the egg mixture slowly.
- Off heat, pour the egg mixture into the saucepan with the butter mixture. Put it back on the heat, and whisk constantly.
- If the eggs start to scramble - hopefully this doesn't happen - pour the mixture through a fine mesh strainer after it is cooked all the way.
- Cook mixture until it begins to thicken. You will notice this as you drag your whisk across the mixture and the the lines you leave close up more slowly. This takes about 6-8 minutes.
- Pour the mixture into the baked pie crust and bake for 12 minutes. Take the pie out of the oven. It will still be rather jiggly, but don't worry.
- For the meringue, beat the egg whites with an electric mixer on high until soft peaks form. If you're not sure what type of peak you're looking for, check this out. After the soft peaks form, add in the vanilla extract. Turn the mixer back on and spoon in the sugar one tablespoon at a time. After all the sugar is added, beat the mixture until stiff peaks form.
- After the meringue is mixed, spoon or pipe the mixture onto the pie. Make sure you take the meringue all the way to the outer edges, as it will shrink as it cools and this will keep the yellow part of the pie from being exposed.
- Put the pie back in the oven. If you have an electric oven, turn the oven to broil; if it's gas, just leave it at 375. Watch the pie, and take it out when the meringue starts to brown. This takes about 3-5 minutes if the oven is on bake and no time at all if it's on broil. Watch it carefully.
- Remove the pie and let it cool for at least 5 hours, preferably overnight. Let the pie sit out of the oven but not in the refrigerator for about an hour, as this minimizes the chance of the meringue cracking. Then cover and refrigerate.
No comments:
Post a Comment